Nanaimo Bars
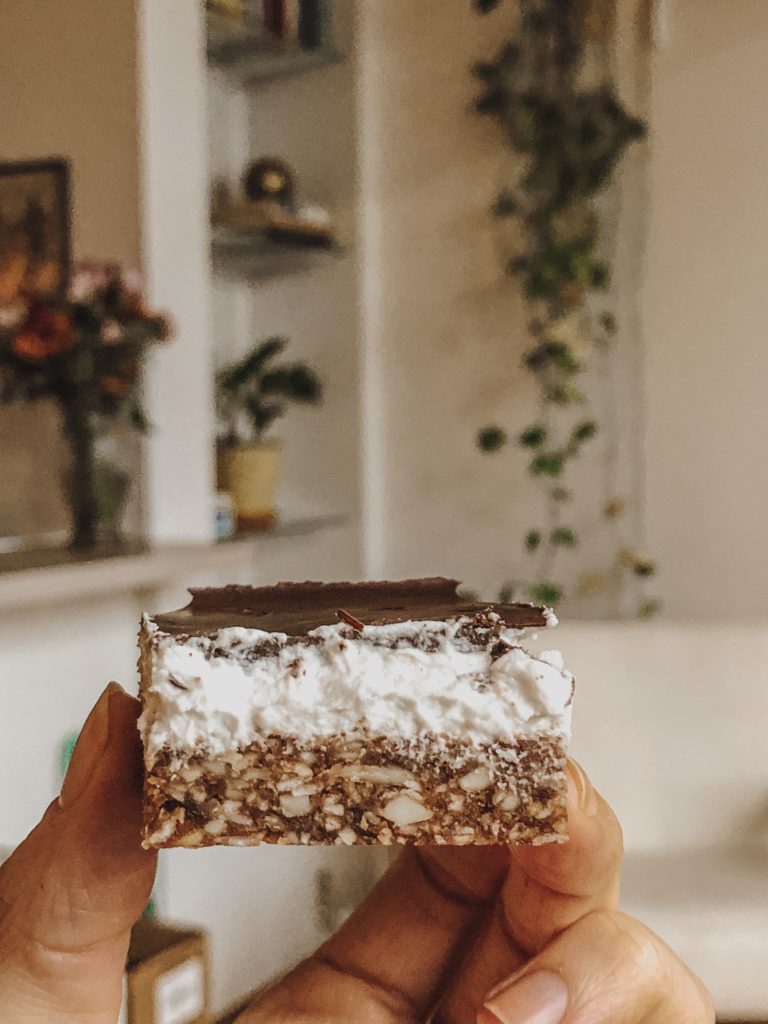
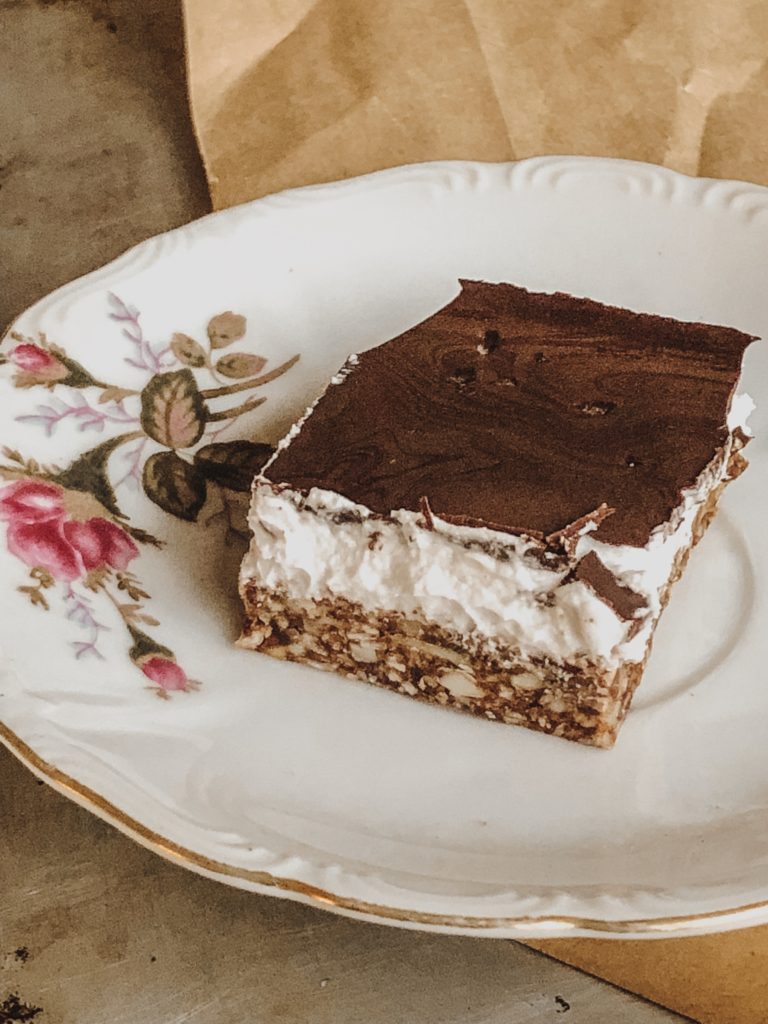
One of my favorite local restaurants here in Rochester is Atlas Eats. It’s quaint, no fuss, consistently good, and reminds me of a local/healthier diner (without the stomach ache). They have an incredible bakery with the most delicious goods, including the legendary nanaimo bar. I say legendary, but it was only after googling did I realize that it’s actually a very well known Canadian dessert. It’s like a chewy coconut almond cookie on the bottom, with a fluffy coconut frosting-like center, all sealed with a hard shell of dark chocolate. I mean, does it get any more perfect?
I’ve been thinking about making my own [healthier] version for a while now and finalllly found the inspiration/energy to do so. While these bars have three different layers, it comes together rather quickly. And I promise you, it’s worth the wait. I’m not into super sweet desserts, but I’ll give a couple options to add more sweetness in case that’s your jam.
INGREDIENTS:
(makes about 16 bars)
CRUST:
1 cup sliced or slivered almonds
1 cup coconut shreds, unsweetened
1/2 cup pitted dates, packed
2 tbsp cacao powder
2 tbsp melted coconut oil
1/4 tsp salt
COCONUT FILLING:
1 can full-fat coconut milk, chilled overnight
1/2 tsp vanilla
optional: powdered sugar or stevia
CHOCOLATE SHELL:
1/2 cup cacao powder
1/4 cup melted coconut oil
1-2 tbsp maple syrup (or honey)
pinch salt
RECIPE:
This seems VERY long, but it’s all actually very simple, promise. First, make sure to chill your coconut milk can in the fridge overnight (don’t freeze for a quick fix!) Also, before getting started, place a metal mixing bowl into the freezer.
Add all crust ingredients into a food processor and run until combined. If your dates are on the hard side, soak in warm water for 5 minutes prior. Add water, 1 tbsp at a time if your crust needs help forming (I usually always need to add a little). It should be crumbly, but sticky.
Line an 8×8 (or a similar square size) pan with parchment paper (this makes it easier to pull out/slice later). Press the crust into the pan with a rubber spatula, forming an even layer. Throw into the fridge.
Take the metal bowl out of the freezer. Open the coconut milk and carefully scoop out the cream that rose to the top, avoiding the water below (use for a smoothie!). If you have a hand mixer, use it! If you don’t, get ready for a little arm work out– use a whisk instead.
Mix until smooth and creamy (a minute or so). Add in the vanilla and a little stevia or powdered sugar if you want a sweeter taste. (Using liquid sweeteners can weigh it down.) If you’re seeing some clumps still, add a little of the coconut water to help loosen.
Pull out the crust and spread your coconut whipped cream into an even layer over the top. Add back to the fridge for a couple hours (or until it’s mostly firm to the touch).
I usually wait to make the chocolate until the bars are ready, otherwise it can firm up too much. Add the cacao powder and coconut oil to a glass bowl and either zap in the microwave to melt the oil or place over a double boiler (small pot of simmering water). Add in the maple syrup to taste and a pinch of salt. Set aside. You want it thin enough to spread, but not super hot and runny (so it doesn’t melt the coconut whip). Let it cool for a few if need be.
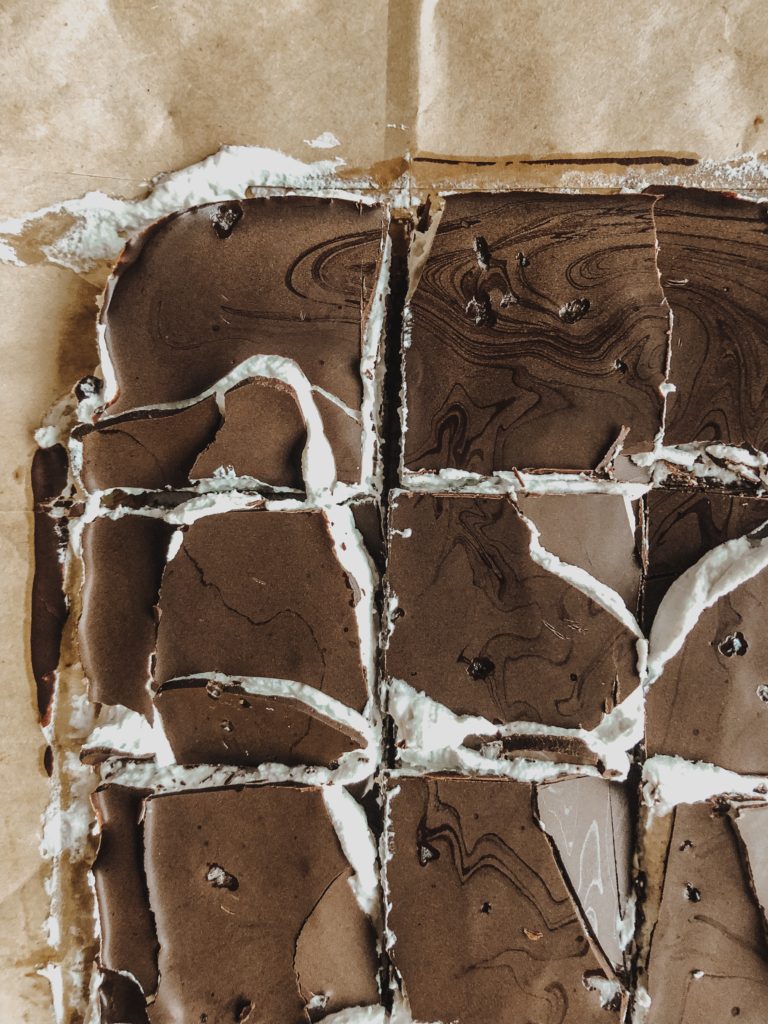
Pour over the bars and tilt the pan around until it’s evenly coated. Sprinkle some coarse sea salt on top if you have it.
Put back into the fridge until completely hardened, about 30 minutes to be safe. Pull the bars out of the pan and slice over a cutting board. The top may break up a little bit, but they’re still SO delicious. Note: if you let them completely harden overnight before cutting, I bet they won’t break as much. But who has that kind of patience?
Store in an air-tight container in the fridge for up to 10 days.