Vegan Nanaimo Bars
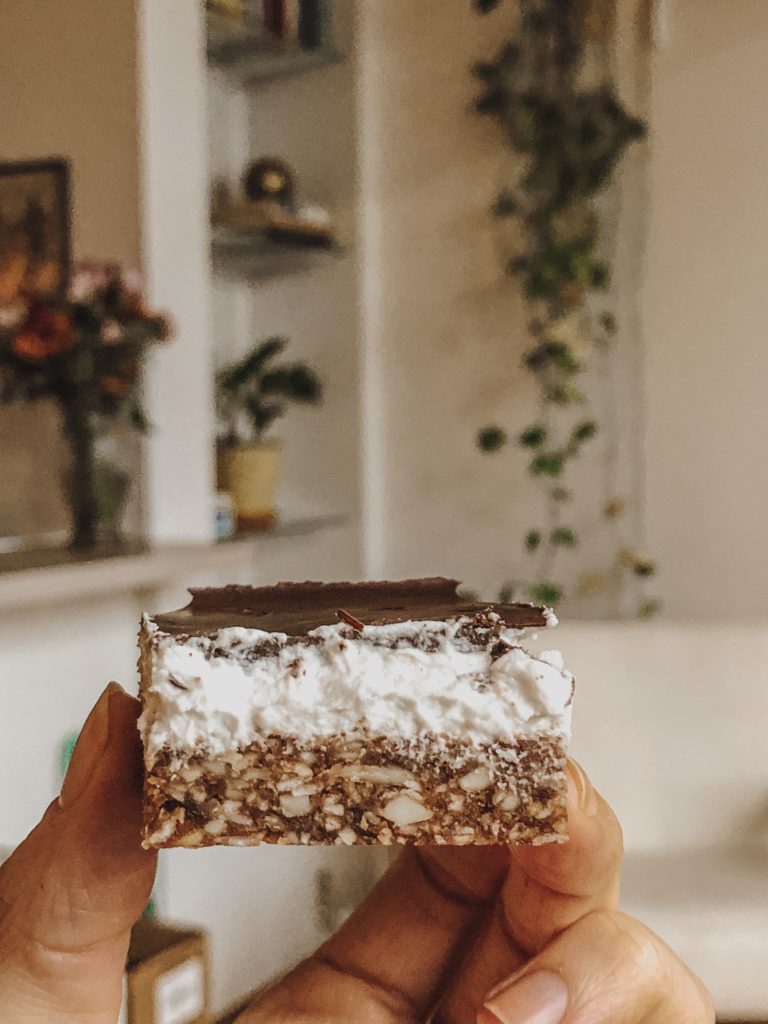
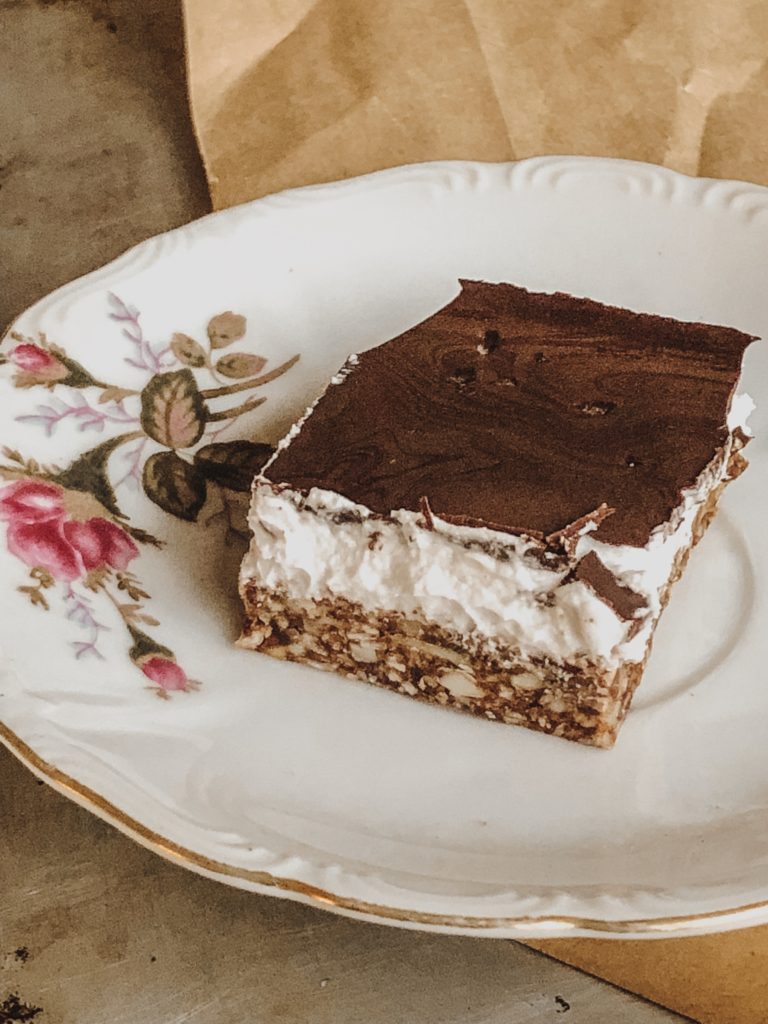
One of my favorite local restaurants here in Rochester is Atlas Eats. It’s quaint, no fuss, consistently good, and reminds me of a healthier diner (without the stomachache). They have an incredible bakery with the most delicious goods, including the legendary nanaimo bar. I say legendary, but it was only after googling did I realize that it’s actually a very well known Canadian dessert. It’s like a chewy coconut almond cookie on the bottom, with a fluffy coconut frosting-like center, all sealed with a hard shell of dark chocolate. I mean, does it get any more perfect?
I’ve been thinking about making my own [healthier] version for a while now and finalllly found the inspiration/energy to do so. While these vegan nanaimo bars have three different layers, it comes together rather quickly. And I promise you, it’s worth the wait. I’m not into super sweet desserts, but I’ll give a couple options to add more sweetness in case that’s your jam.
Ingredients
- 1 cup raw almonds (sliced or slivered preferred)
- 1 cup small coconut flakes (unsweetened)
- ½ cup pitted medjool dates (~6 large)
- 2 tbsp cacao or cocoa powder
- 2 tbsp melted coconut oil
- ¼ tsp salt
- 1 15 oz. can full-fat coconut milk (chilled overnight or at least 6 hours)
- 1/2 tsp vanilla
- 1 tsp powered sugar or monkfruit (optional)
- ½ cup cacao or cocoa powder
- ¼ cup melted coconut oil
- 1-2 tbsp maple syrup (or honey)
- pinch salt
Instructions
Before starting:
- Chill your coconut milk can in the fridge overnight or at least 6 hours (don’t freeze for a quick fix!) Also, before getting started, place a metal mixing bowl into the freezer.
Crust:
- If your dates are on the hard side, soak pitted dates in warm water for 5 minutes prior. Drain. Add all crust ingredients into a food processor and run until combined. Add water, 1 tbsp at a time if your crust needs help forming (I usually always need to add a little). It should be crumbly, but sticky.
- Line an 8×8 (or a similar square size) pan with parchment paper (this makes it easier to pull out/slice later). Press the crust into the pan with a rubber spatula, forming an even layer. Throw into the fridge.
Filling:
- Take the metal bowl out of the freezer. Open the coconut milk and carefully scoop out the cream that rose to the top, avoiding the water below (use for a smoothie!). If you have a hand mixer, use it! If you don’t, get ready for a little arm work out. If not, use a whisk instead.
- Mix until smooth and creamy (a minute or so). Add in the vanilla and a little monkfruit or powdered sugar if you want a sweeter taste. (Using liquid sweeteners can weigh it down.) If you’re seeing some clumps still, add a little splash of the coconut water to help loosen.
- Pull out the crust and spread your coconut whipped cream into an even layer over the top. Add back to the fridge for a couple hours (or until it’s mostly firm to the touch).
Chocolate Shell:
- I usually wait to make the chocolate until the bars are ready, otherwise it can firm up too much. Add the cacao powder and coconut oil to a glass bowl and either zap in the microwave to melt (30 seconds at a time) or place over a double boiler (small pot of simmering water).
- Add in the maple syrup to taste and a pinch of salt. Set aside. You want it thin enough to spread, but not super hot and runny (so it doesn’t melt the coconut whip). Let it cool for a few if need be.
- Pour over the bars and tilt the pan around until it’s evenly coated. Use a spatula to gently help along if needed. Sprinkle some coarse sea salt on top if you have it.
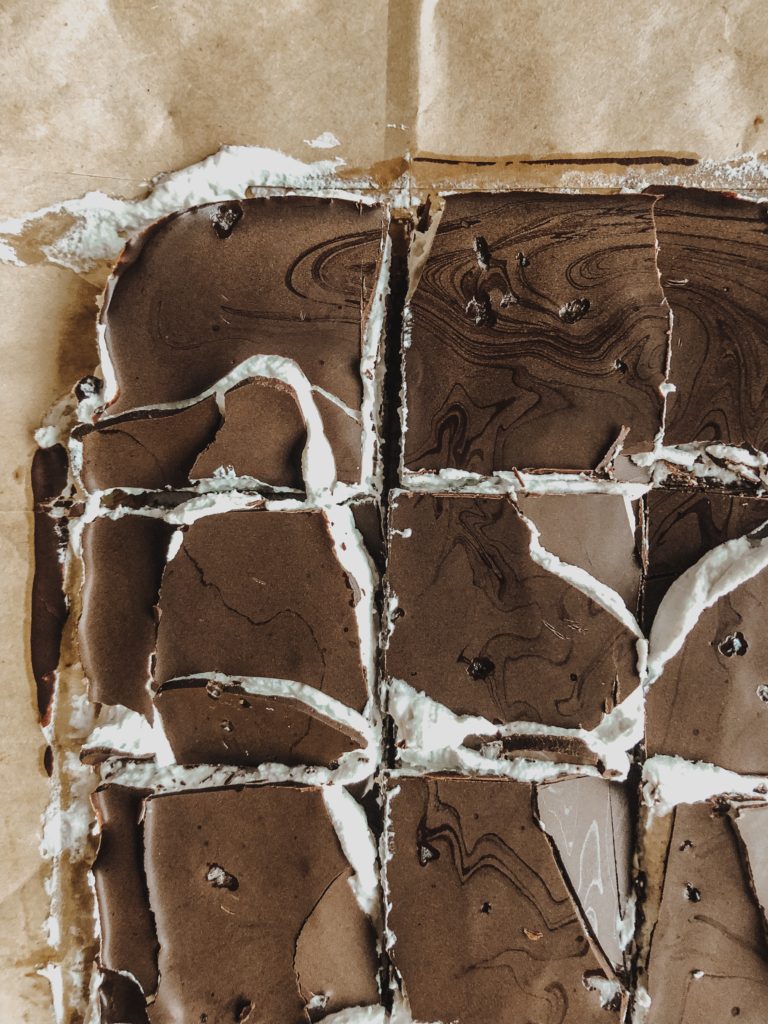
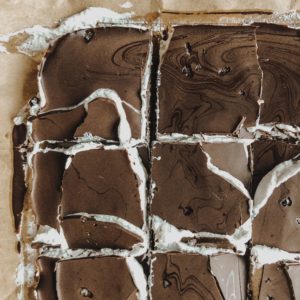
- Put back into the fridge until completely hardened, about 30 minutes to be safe. Pull the bars out of the pan and slice over a cutting board. The top may break up a little bit, but they’re still SO delicious.
- Store in an air-tight container in the fridge for up to 10 days.
Notes
I personally prefer the Thai Kitchen or Native Forest brands as they run on the thicker side. I’m sure there are others that work as well, but I would mainly stay away from Trader Joe’s as it’s too thin/watery for this type of recipe.

