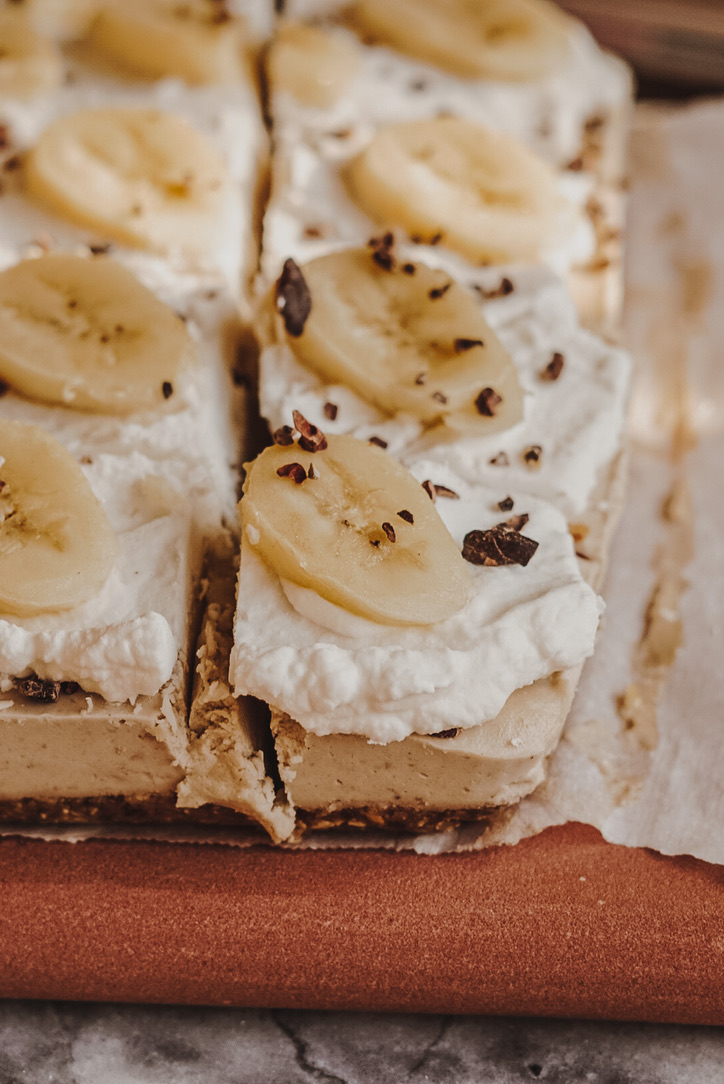
Vegan Banana Cream Pie Bars
Here’s the deal. In an effort to make healthier versions of classic, tasty sweets.. it’s never personally about deeming the original food as “bad” or “off limits”. If there’s a traditional store-bought cookie cake at a party, you better believe I’m having a slice (or 4). But the reality is, heavily processed sugars/flours/dairy aren’t things that I like to consume on the reg, mainly because they don’t physically make me feel my best.
So my theory is: if you can make something that tastes just as good (not “pretty good for being healthy“) or better than the original, and hits alll those taste buds, while including lots of nutrient-rich foods.. why wouldn’t you? And no, just being labeled vegan or gluten-free doesn’t automatically mean it’s a health food (even though in this case it is!). It’s more about using real, whole ingredients that add to our overall wellbeing.
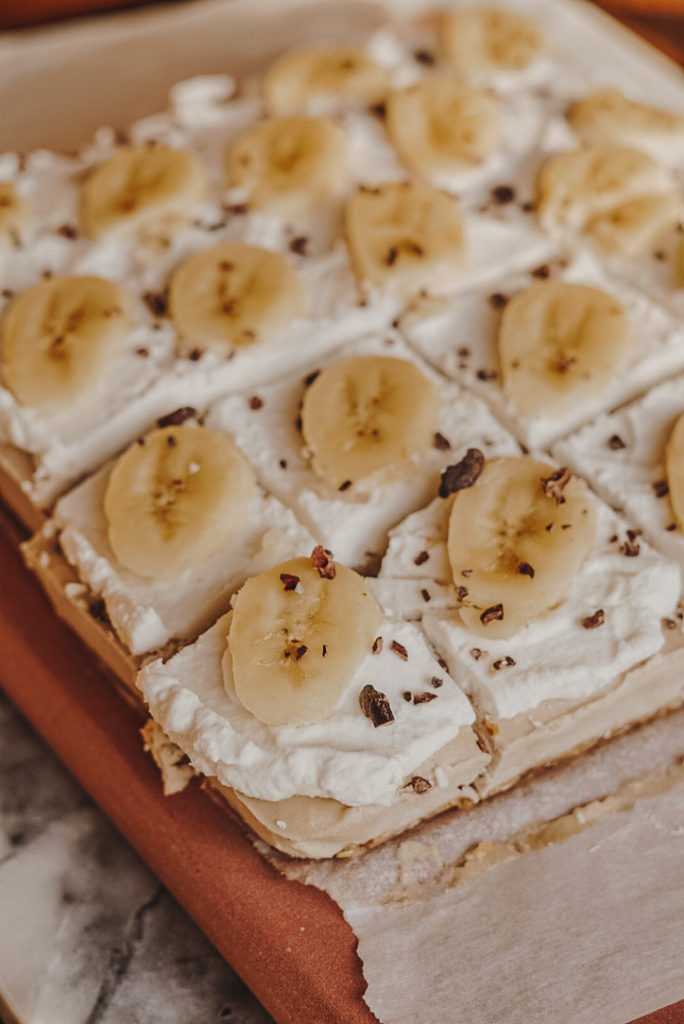
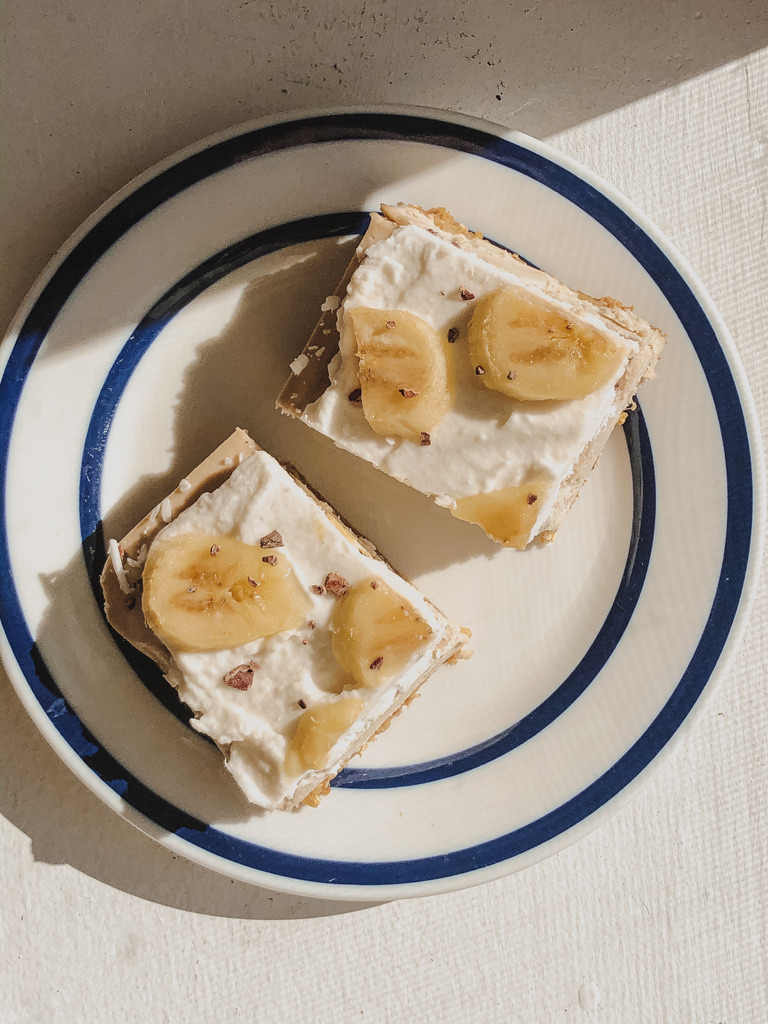
Ok with that said, this recipe is incredible. I was actually shook when I took my first bite because it legitimately tastes like ACTUAL banana cream pie. Not a healthier version. Not a mediocre stab at a replica, but true BANANA. CREAM. PIE.
I made them into bars because of ease (and look how cute!), but you can absolutely do this as a traditional pie. Just use a spring-foam cheesecake-style pan or a pie pan (with plastic wrap down first so you can pull it out to slice easily). And don’t skimp on the coconut whip topping, it makes all the difference in my opinion!
Equipment
- 1 High-speed blender
- 1 food processor
Ingredients
- 1 cup dates (~8-9 large)
- 1 cup walnuts (unsalted)
- ½ cup oats
- pinch salt
- 2 cups raw cashews soaked
- 1½ bananas (can use the extra half for topping)
- ¼ cup melted coconut oil
- ¼ cup maple syrup
- ⅓ cup coconut cream or top of coconut milk can*
- 1 tbsp lemon juice
- 1 tsp vanilla
- ⅛ tsp salt
- 1 can coconut milk
- ½ tsp vanilla
- banana slices/cacao nibs (optional)
Instructions
- Soak raw cashews in hot water for 15 minutes. Drain.
Crust:
- For crust, combine all ingredients into a food processor. If your dates are hard, soak in warm water for 10 minutes to soften. Make sure to pit them and pack your cup for measuring. Process until combined and a sticky crust forms. You may need to add 1-2 tbsp of water to help it come together.
- Line an 8×8 or 9×9 square pan with parchment paper. Make sure at least 2 of the ends are hanging over the pan so you can pull them out later. If you’re doing a pie, use a spring-foam style pan or line a pie dish with plastic wrap so you can pull out/cut easily.
- Press the crust down into your pan until it’s thinned out and evenly spread. Pop into freezer.
Filling:
- Make the filling by combining all ingredients into a high powered blender. You’ll most likely need to stop and scrape sides down a few times to help it along. Be patient! Blend on the highest power toward the end so it’s really creamy. (If you have a vitamix or blender with the taper tool, this will help). Pour mix into the pan and spread evenly.
For whipped cream:
- For the coconut whip, if you’re using coconut milk, carefully scoop the cream off the top and put into a blender or use a mixer. Blend, adding a little of the coconut water remains at a time to help it along. I used a blender and just scraped down sides every few pulses. If you’re using coconut cream, you can use half the can or all of it for more whipped cream (if it’s a small can use it all).
- This part takes a bit of patience. Freeze the bars/pie for at least 3 hours and then put the whip + toppings on. (Put the whip into the fridge while you wait).
- Cut into bars/slices and enjoy or store in the fridge in an air-tight container for up to one week. You can freeze for longer, but the whip may change texture a bit.

